Help Center

ShortMind Help Center

This guide walks you through the core ShortMind workflow, from uploading a video and configuring clip settings to reviewing highlights, downloading exports, and managing subscriptions.

Upload videosSet parametersReview clipsUpgrade plans
Step 01

Upload a Video

View pricing

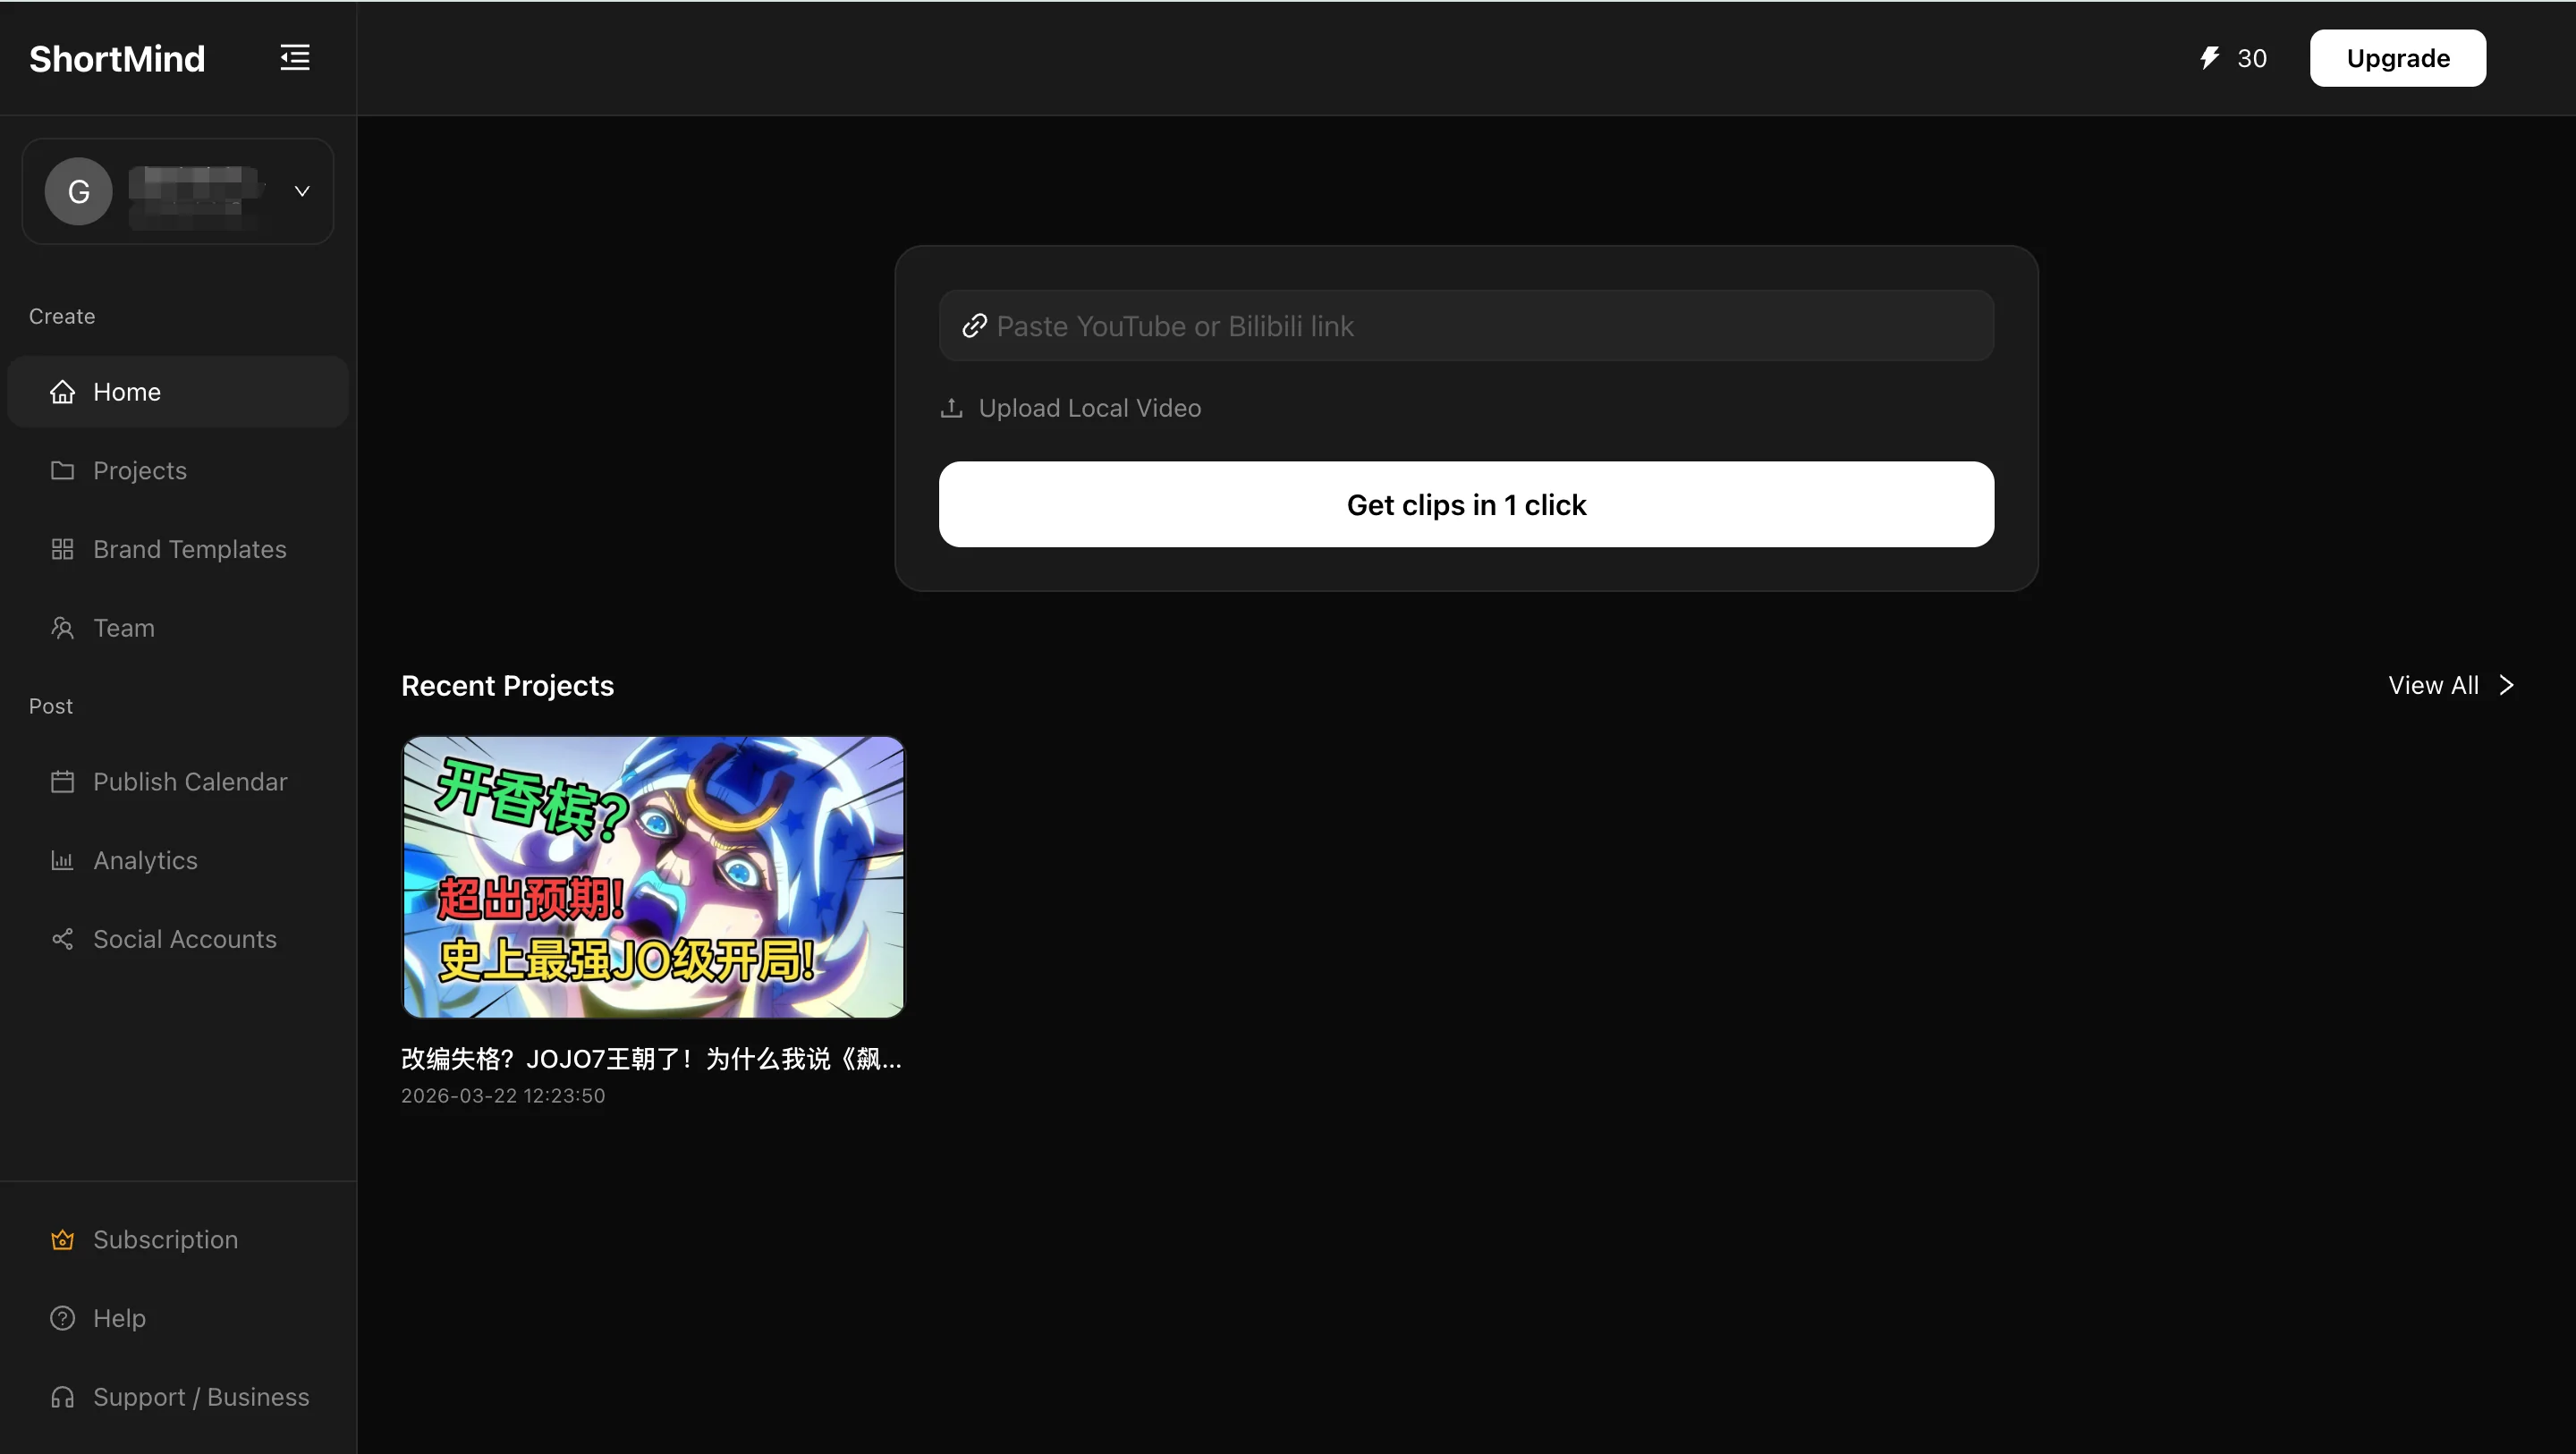
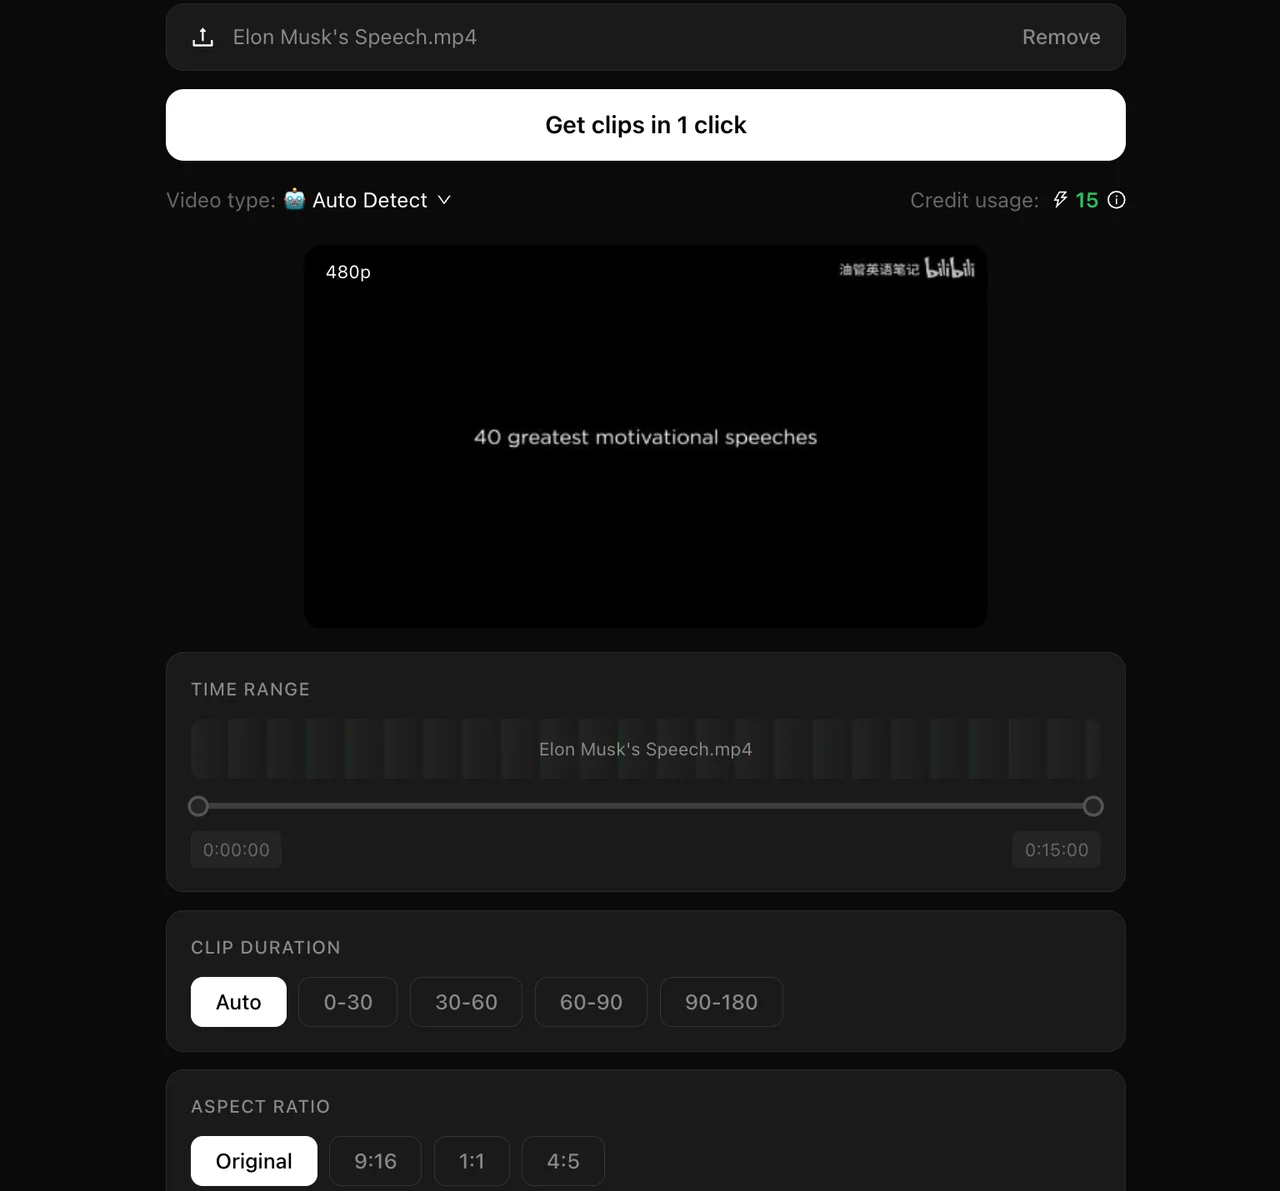
After signing in, you can upload a local video from the homepage or paste a YouTube or Bilibili link to import content and continue to the clip setup flow.

  • Both local uploads and link-based imports are supported, so you can start with whichever source is more convenient.
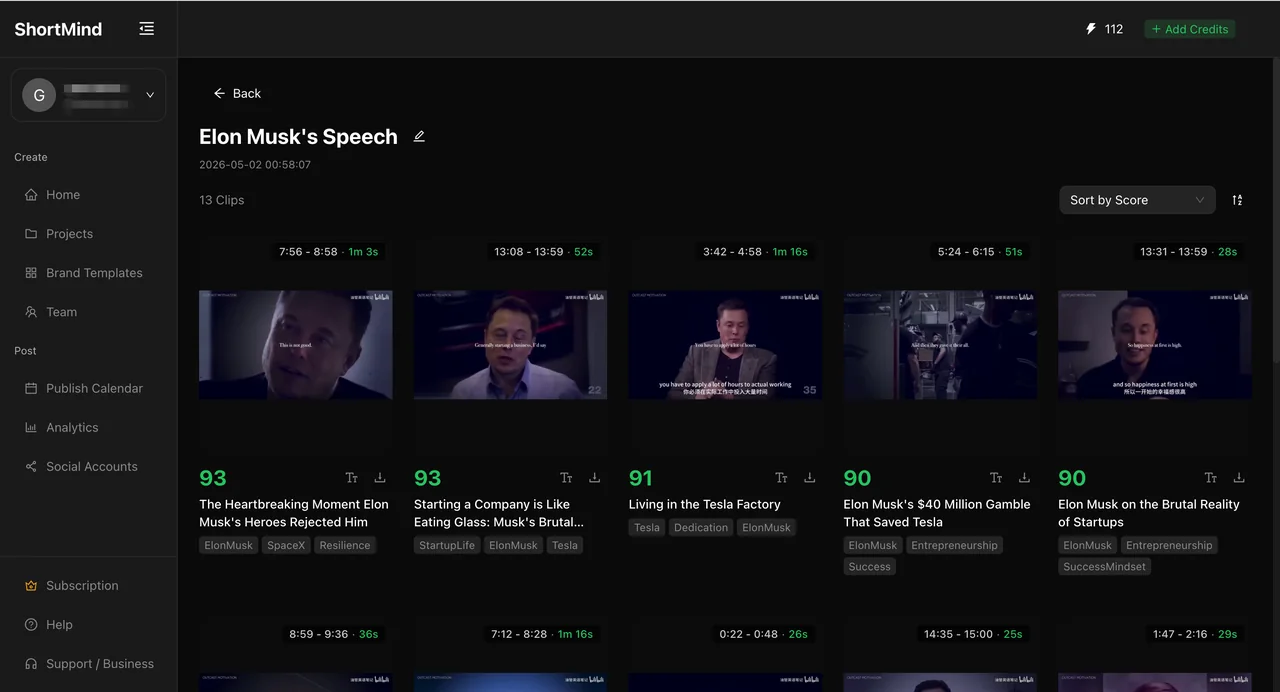
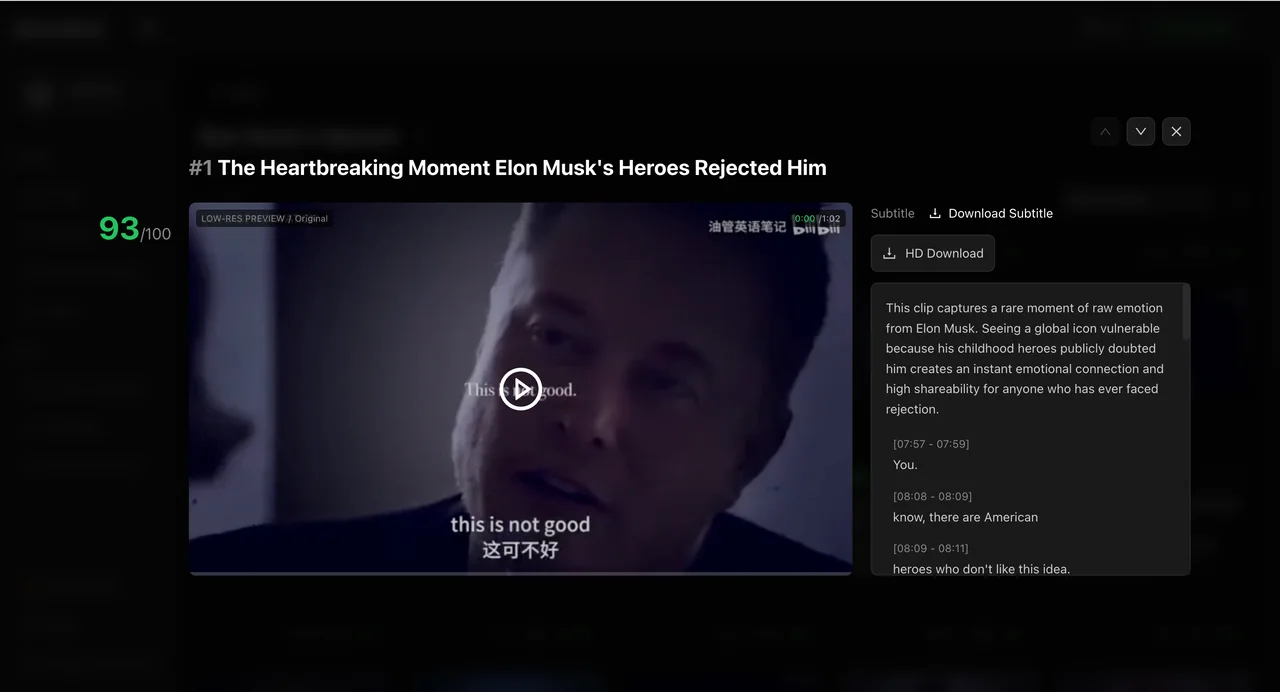
  • Clear and complete source footage helps the AI identify stronger highlight moments more accurately.
  • The maximum supported duration for a single video depends on your current plan. You can check the pricing page for details.
Tip: If an external link imports unreliably, download the source video first and continue with a local upload instead.
ShortMind homepage upload view with local upload and video link import options.
Start with a local file or paste a supported video link to import content quickly.
Step 02

Configure Clip Settings

After choosing your settings, click “Get Highlights in One Click” to start the AI analysis and clipping process. You can track progress from the project list.

  • Video type: AI detects this automatically by default, but you can set it manually if you already know the content category.
  • Clip length: Leave it on auto or choose a range that better fits your publishing style and target platform.
  • Aspect ratio: Keep the original ratio by default, or switch to options such as 9:16, 1:1, or 4:5 for TikTok, YouTube, Instagram, and similar channels.
Tip: For longer source videos, it is worth checking the processing range and credit cost before launching a larger batch.
ShortMind clipping settings screen with video type, clip length, and aspect ratio controls.
Confirm the video type, clip length, and aspect ratio before generating highlights.
Step 03

Review and Download Clips

Once processing is complete, open the project to review every generated clip and quickly identify the most promising options with the built-in score and recommendation signals.

  • Use the project list to review clip count, generation time, and sorting options for each video project.
  • Open any clip to preview it, inspect the virality score, read the recommendation summary, and review the related subtitle segment.
  • You can download high-resolution video exports, and when subtitle actions are available you can also review or download subtitle content.
Tip: A practical workflow is to start with the highest-scoring clips, then narrow them down again based on title direction and publishing channel.
ShortMind project list view showing generated clips with scores and sorting controls.
Browse all candidate clips from the project view and sort them by score.
ShortMind clip detail view showing preview, recommendation notes, subtitle segments, and download actions.
Open a clip to review the rationale, subtitle segment, and download options.
Step 04

Upgrade Your Subscription

If you need longer source support, more processing capacity, or additional features, open Subscription Management and click “Upgrade” to choose the plan and billing cycle that fit your workflow.

  • Monthly and yearly billing are both available, so you can choose based on how frequently your team uses the product.
  • Stripe and Alipay are supported payment methods, and your account upgrades automatically after payment succeeds.
  • Paid users can also buy extra credit packs from the top-right “Buy Credits” entry whenever they need more clipping capacity.
Tip: If you need an enterprise setup, higher volume, or team-level support, you can also contact the ShortMind team for a tailored plan.
ShortMind subscription management page showing the current plan, feature entitlements, and upgrade entry.
Check your current plan in Subscription Management and use Upgrade to move to a paid tier.